What we repair and modify
Mould repair restores a worn or damaged mould to its original standard; mould modification changes it for a new part design or to cure a recurring defect. Both cost far less than a new mould and get your press running again sooner.
Planned mould modifications (mold modifications, in US terms) also save time: the bolster, heating and ejection system stay in place, and only the changed inserts or features are re-machined. A modification that saves time on the shop floor can take days, where a new mould takes weeks.
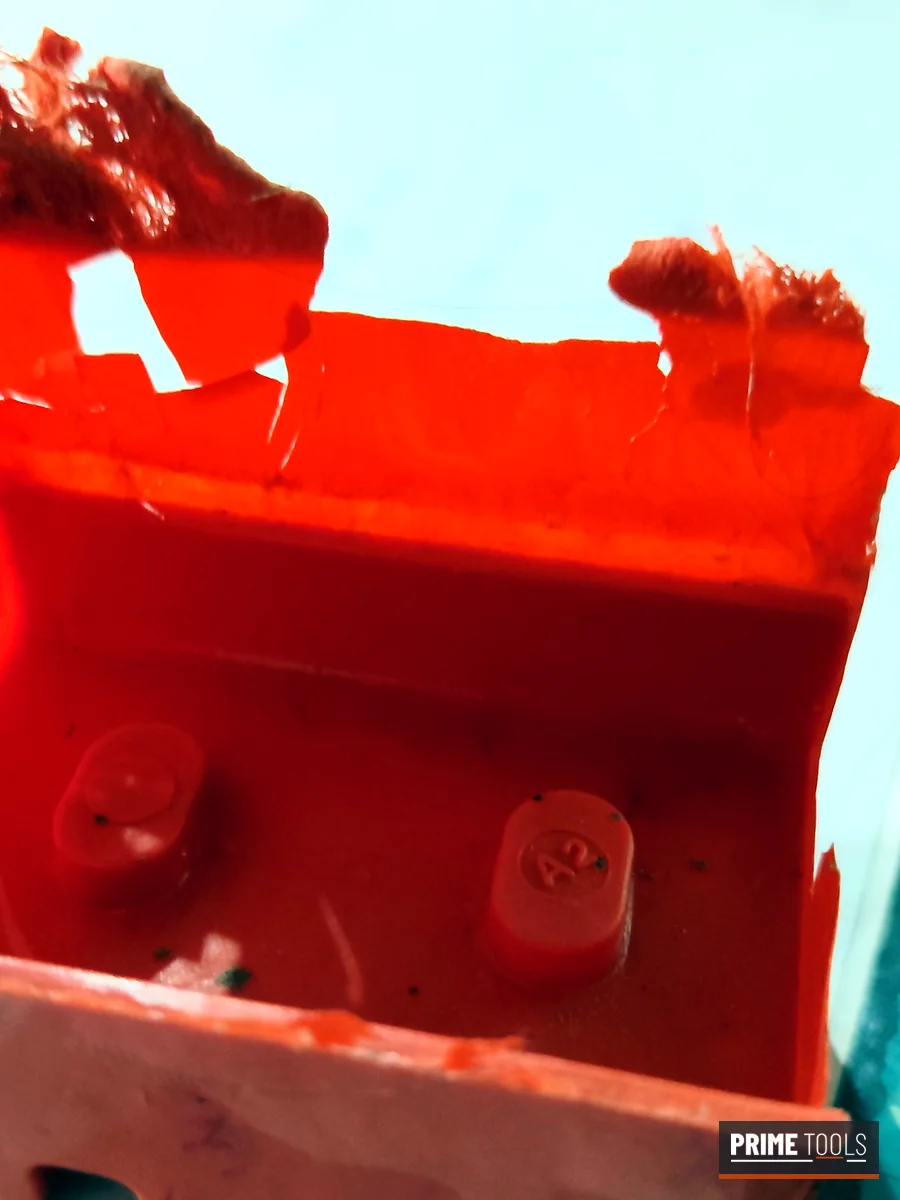
Shear edge and parting face repair
Worn shear edges and damaged parting faces are the main cause of heavy flash. We restore the clearance to a few hundredths of a millimetre, so flash stays thin and consistent.
Re-polishing and re-chroming
Dull, scratched or sticking cavities are stripped, polished back to finish and hard chromed again, typically with a 10–25 µm chrome layer, so parts release cleanly with a good surface.
Design changes
New ribs, bosses, logos, ratings or wall changes, added inserts or a changed parting line, without building a new mould.
Heating and ejection
Failed cartridge heaters and thermocouples are replaced and the heating checked across the surface; sticking ejector pins and broken guide pillars are replaced and set right.
Inserts, cores and pins
Worn or broken inserts, core pins and ejector pins are re-machined or replaced to drawing.
Moulds from other tool rooms
Most repair work we see was built elsewhere. Send what you have; we work from the mould itself if there is no drawing.
Compression moulding defects and their mould-side fixes
Many compression moulding defects are blamed on the material or the press, but start in the mould. These are the ones we fix most often on SMC, DMC and Bakelite moulds.
| Defect | Common mould-side cause | Repair or modification |
|---|---|---|
| Heavy flash | Worn shear edge, damaged parting face | Restore shear edge clearance and parting face |
| Short fill / non-fill | Poor venting, wrong charge area, cold zones | Add vents, correct heating, revise charge position |
| Blisters and porosity | Trapped gas, thick sections, low venting | Open vents, add breathing, review wall section |
| Parts sticking | Low draft, scratched or dull surface | Correct draft, re-polish and re-chrome |
| Cracks near bosses | Sharp corners, poor ejection balance | Add radii, rebalance ejector pins |
| Warpage | Uneven mould temperature | Repair or re-lay heaters, check thermocouples |
| Dimensions drifting | Wear on inserts, pins and guides | Replace worn parts, re-machine inserts |
New to the process? Our guide to compression moulds and compression moulding explains how each part of the mould works. For SMC moulds specifically, see SMC moulds.
Die casting die repair
Of the 1,000+ moulds our team has worked on, more than 100 are high pressure and gravity die casting dies, maintained and modified for: flash at the parting face, soldering, heat-check marks, worn cores and pins, blocked vents and overflows. We also machine new core and cavity inserts for existing dies.
See the full list of die casting defects we fix, and how each job runs, on our die casting die repair and inserts page.
Preventive mould maintenance: a simple plan
Most breakdowns we see could have been avoided. A basic routine keeps a thermoset mould running longer between repairs.
Every shift
Clean flash from the parting line and vents with soft tools, check that ejectors return, and watch the temperature readings.
Every week
Inspect the shear edge and cavity surface for scratches, check heaters and thermocouples, and lubricate guide pillars and ejectors.
Every month or campaign
Deep clean the cavity, check insert and pin wear, measure first-off parts against the drawing and log what you find.
Before storage
Clean, dry and protect the cavity with a rust preventive, cover it, and store the mould closed on a flat surface.
How a mould repair job runs
- Send photos and a sample part. On WhatsApp, with the defect marked. We tell you whether it looks like a repair, a modification or a new insert.
- The mould comes in for inspection. We strip, clean and check it, then send a findings list with a quote and a date.
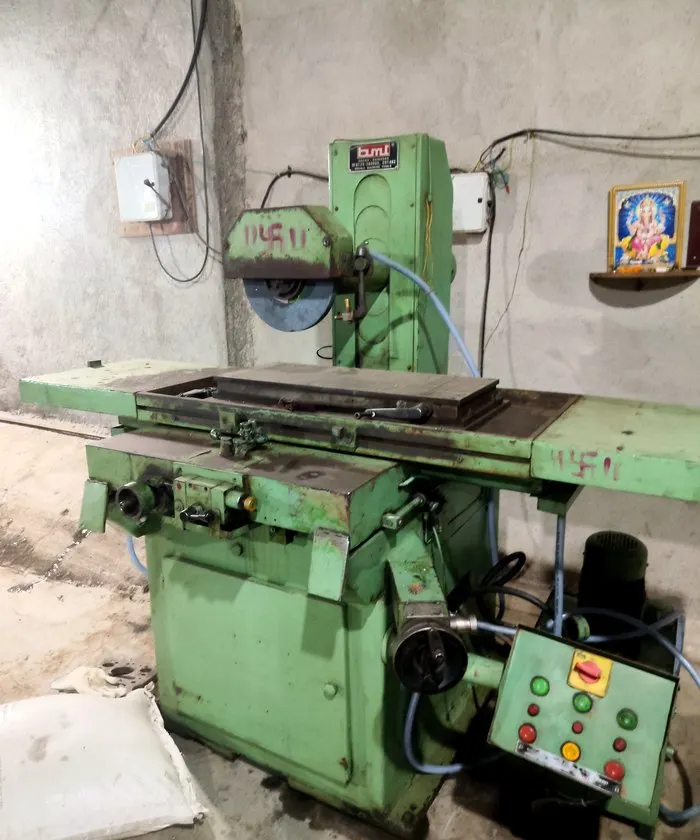
- We repair or modify. Machining on our VMC, EDM and grinder, with fitting and blue-matching by hand.
- We trial where possible and report. You get the mould back with a report of what was found, what was done and what to watch next.
Recent mould repair jobs, with photos
Real jobs from our tool room, photographed before and after. Customer names are kept confidential.
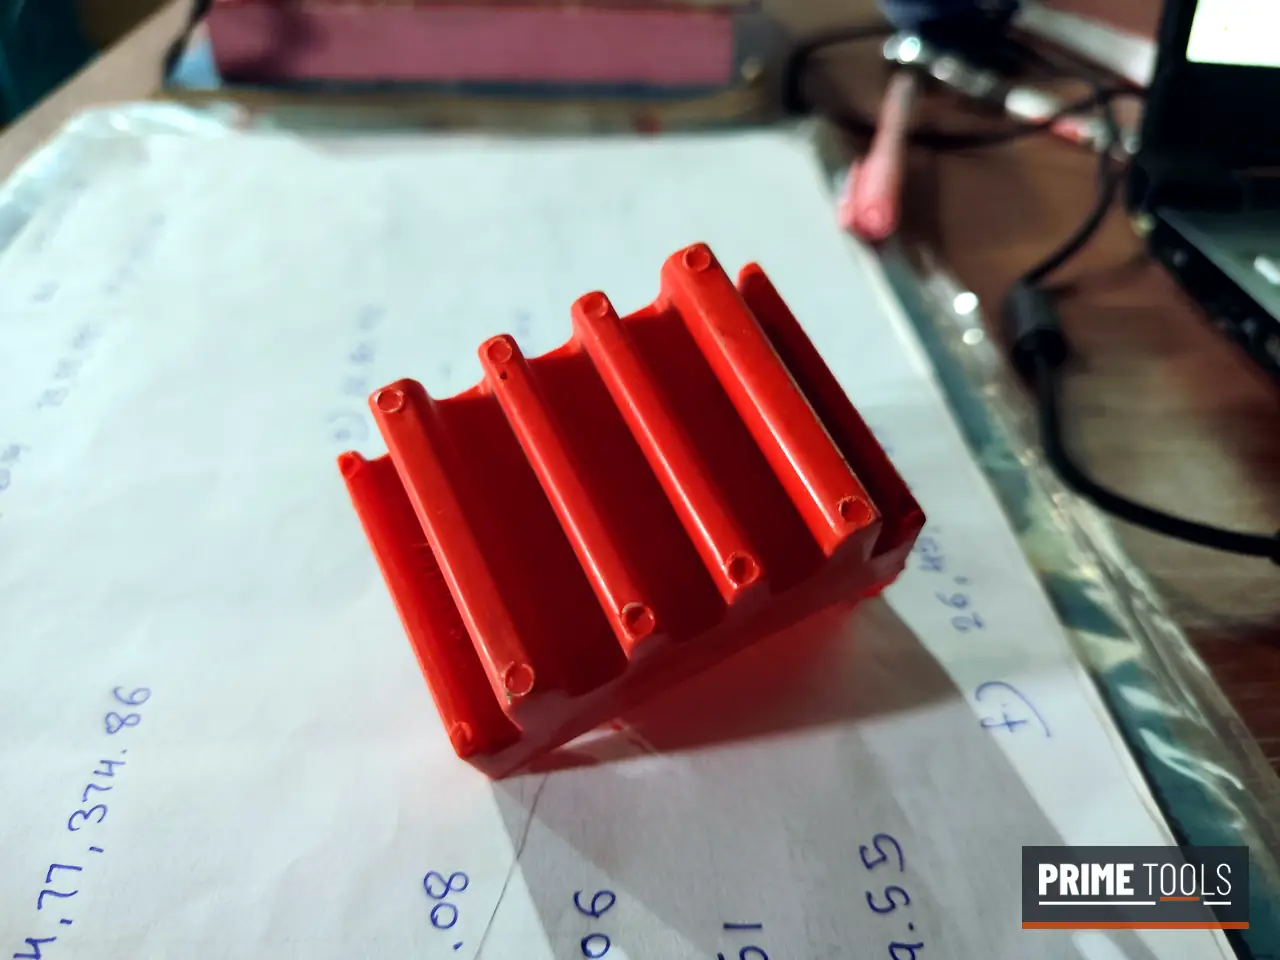
Correcting high flash on an electrical segment mould
This mould came to us through a third party. The parts were coming off with heavy flash that had to be removed by hand, slowing production and spoiling edges.
We stripped the mould, found where the shear clearance and parting faces had opened up, corrected them and re-fitted the mould. The parts now come off with clean edges and only light flash.
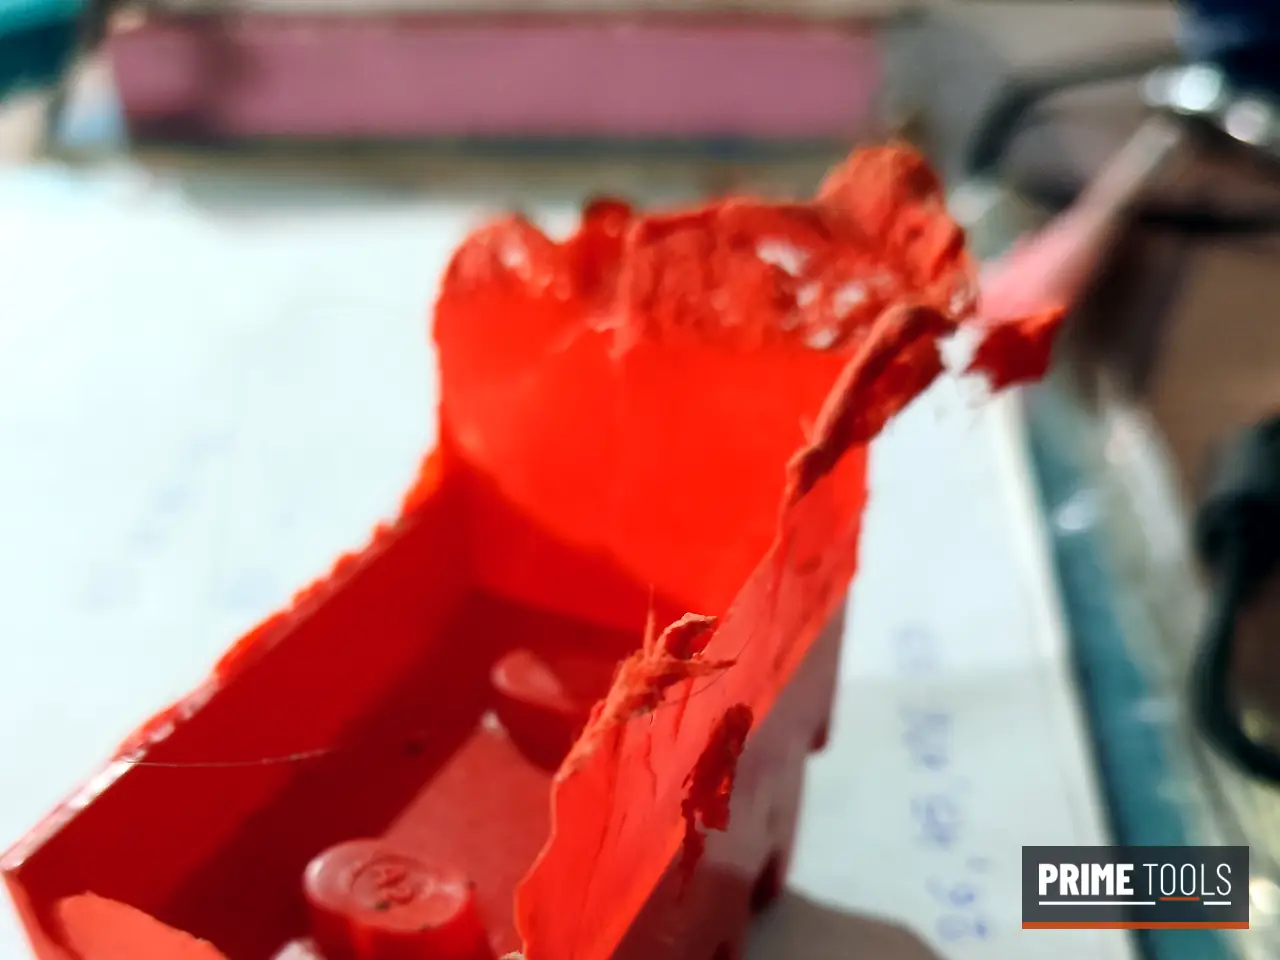
Flash clearance on a two-cavity SMC enclosure mould
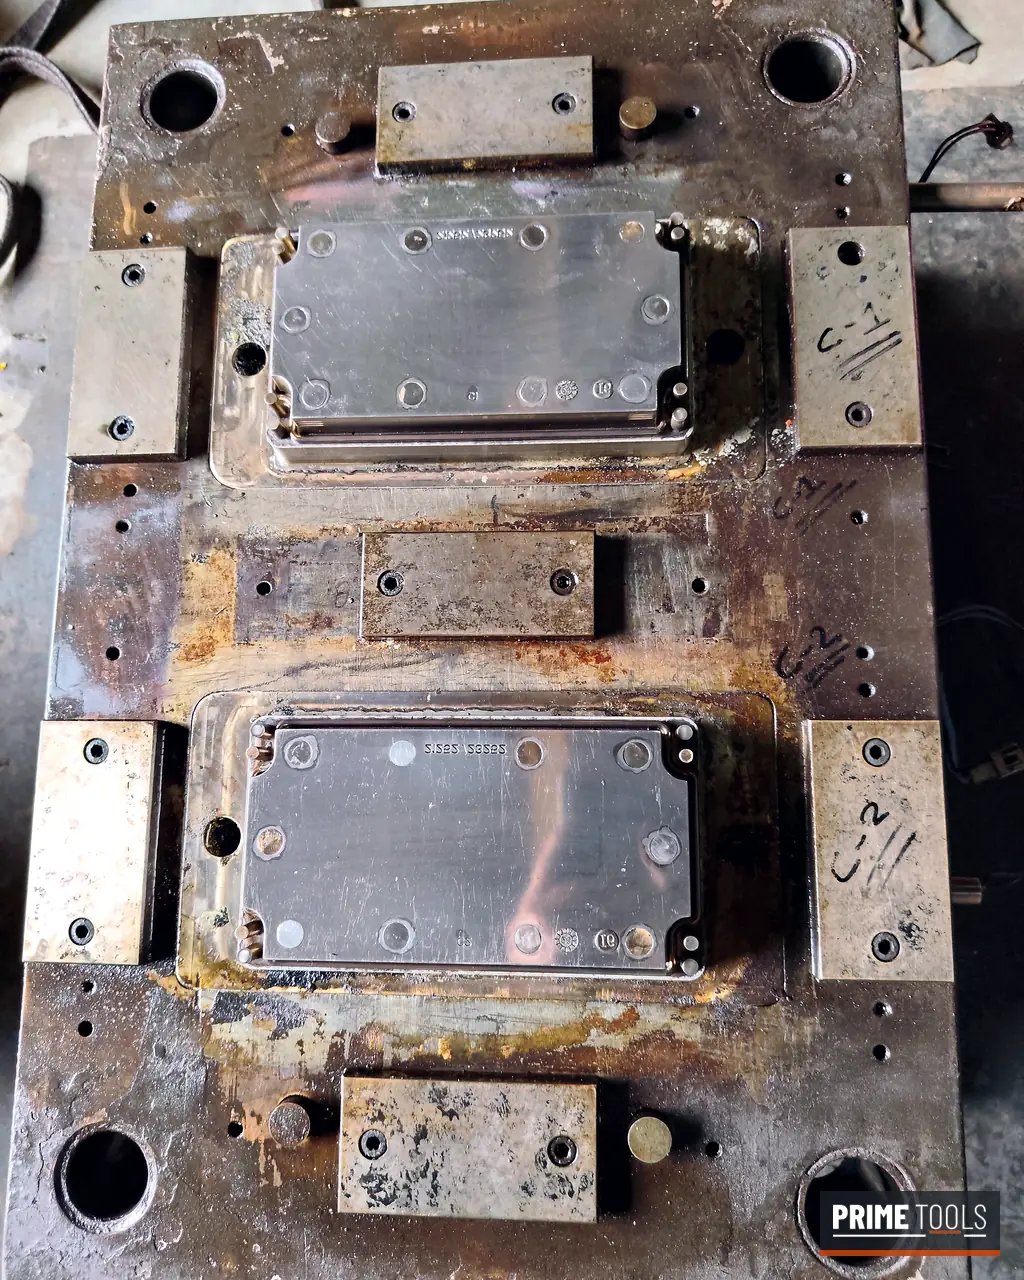
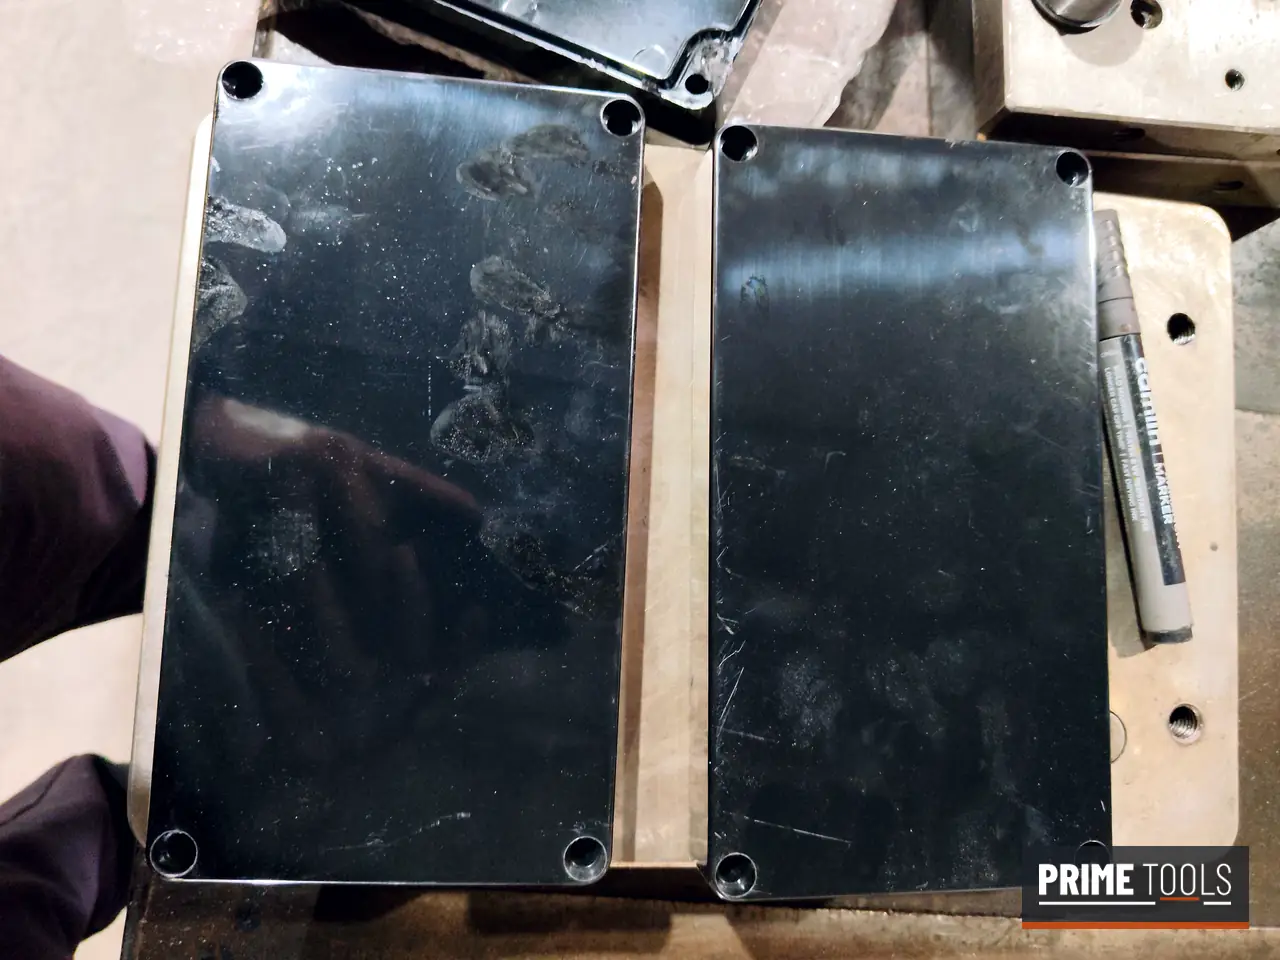
A two-cavity SMC enclosure mould that was making heavy flash and needed cleaning up. Built-up resin, worn shear edges and gaps on the parting face all add to flash.
We cleaned both cavities, restored the shear edges, corrected the parting line and re-polished the cavity surfaces. The enclosure covers now come off glossy with clean edges.
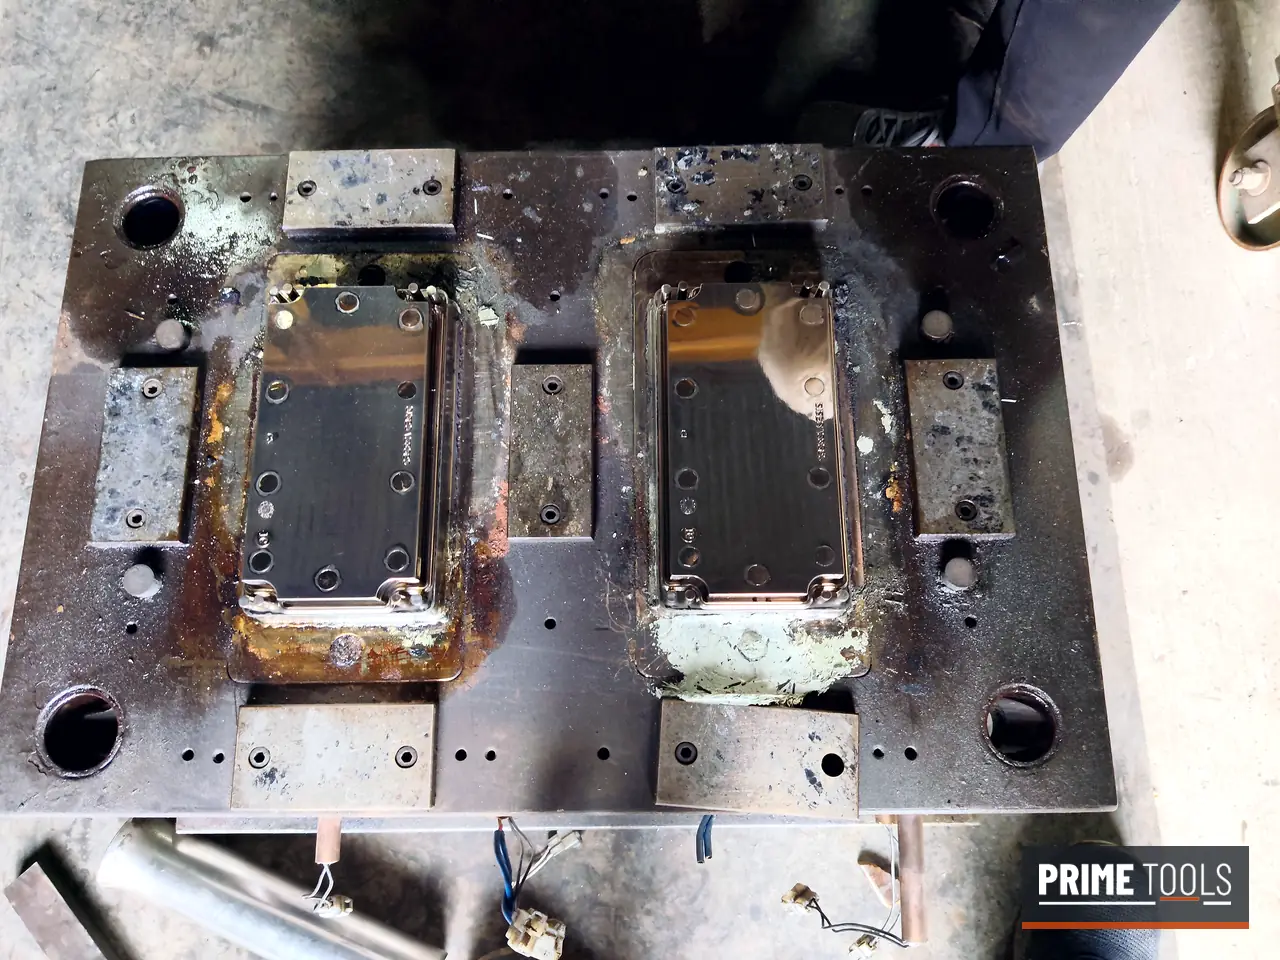
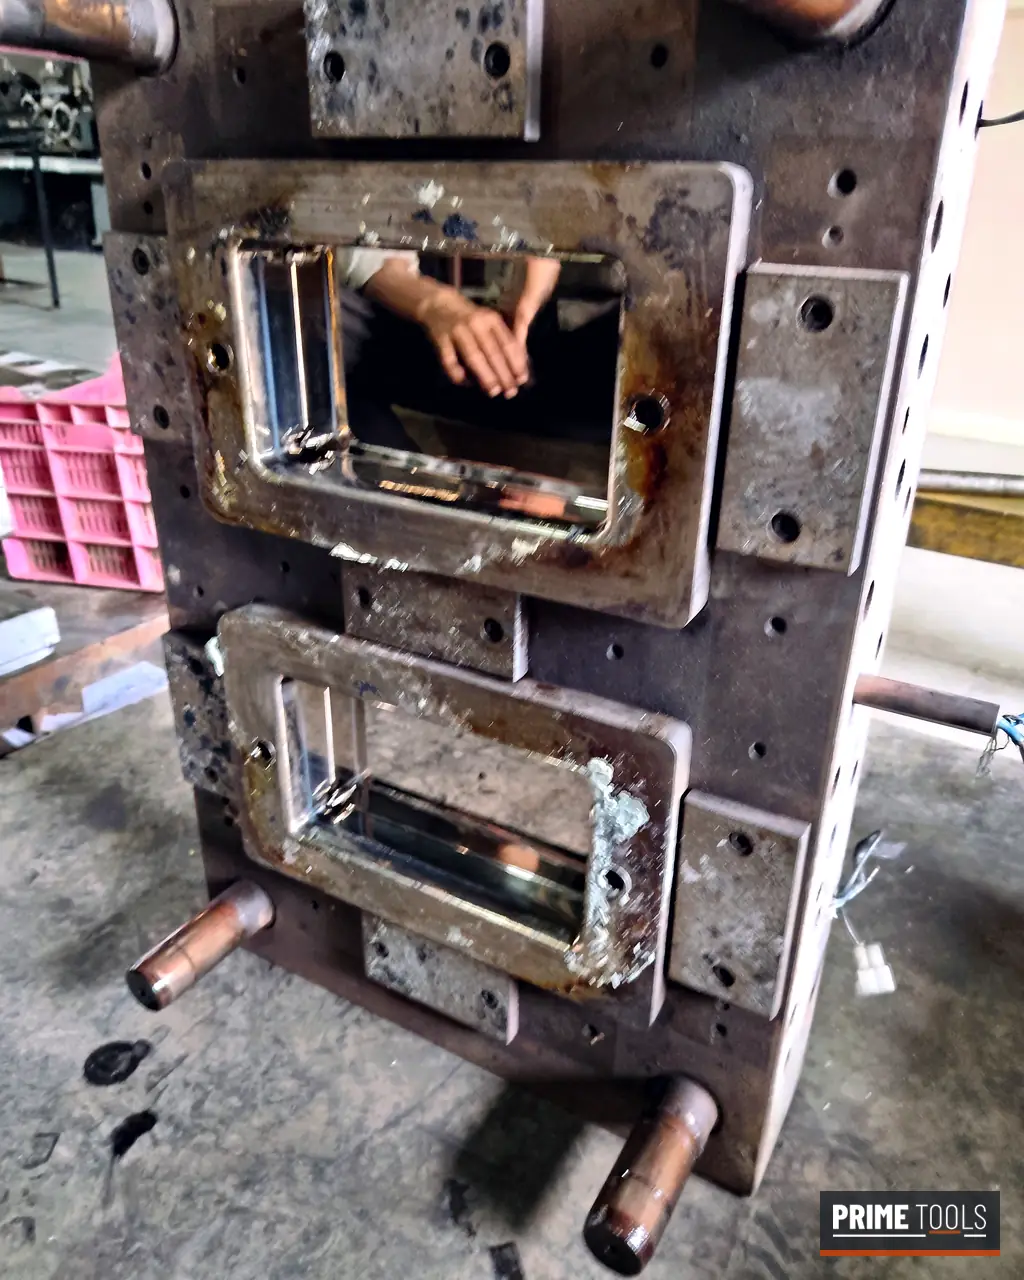
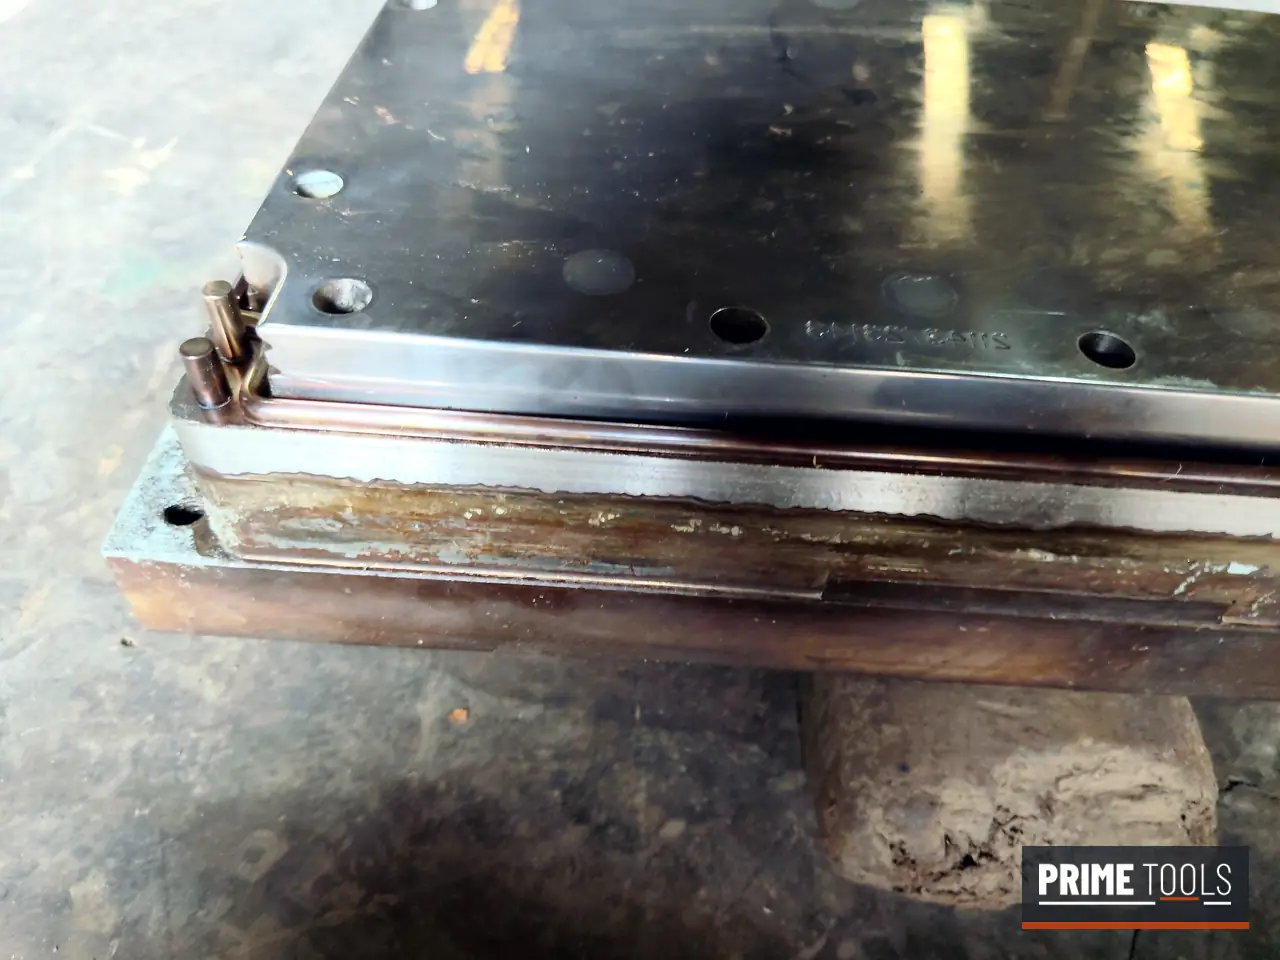
Old tool repaired and modified
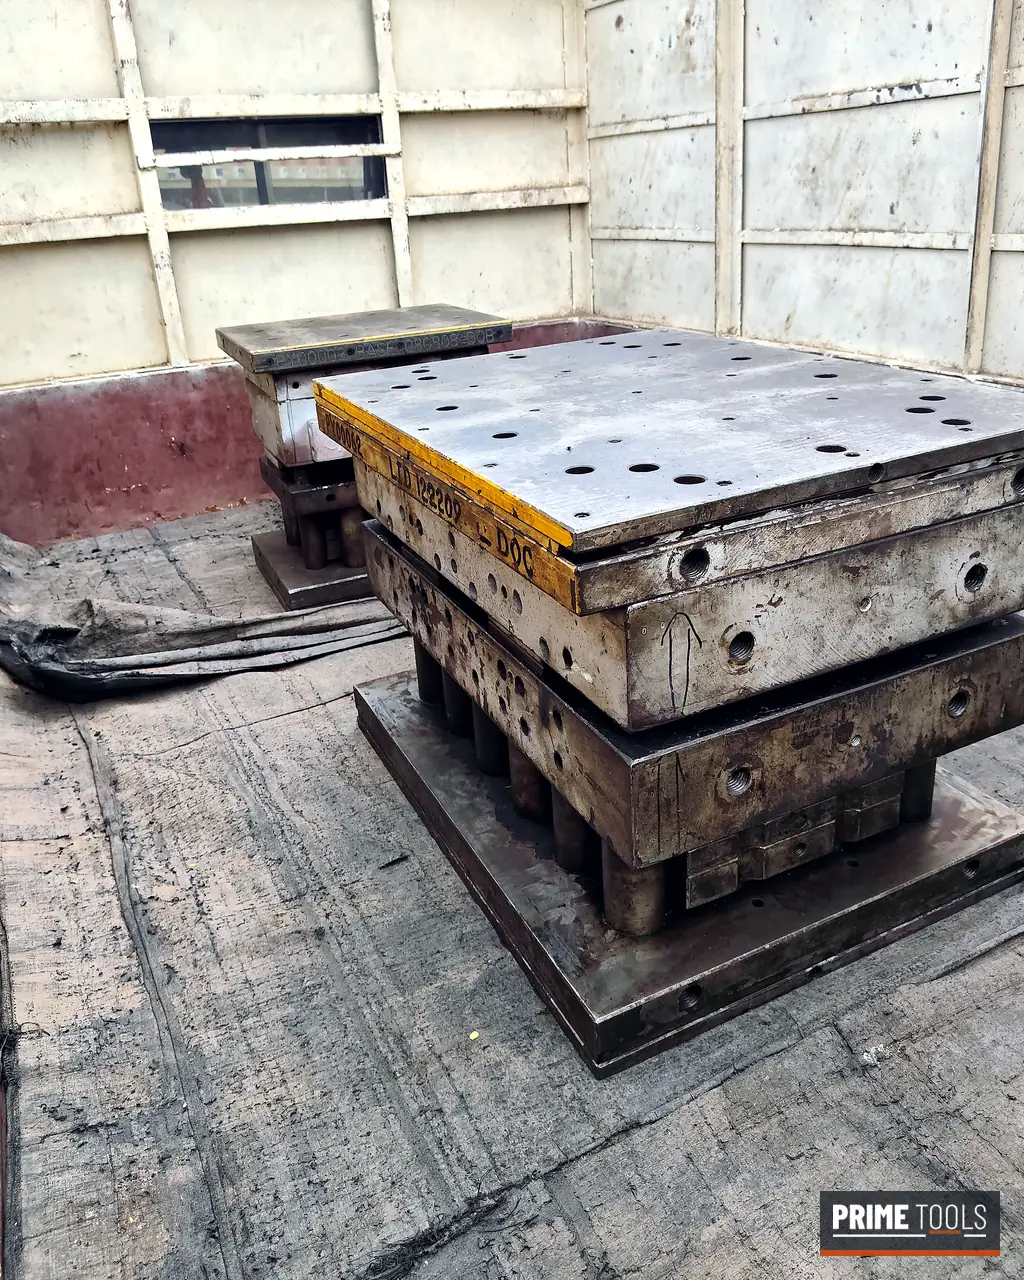
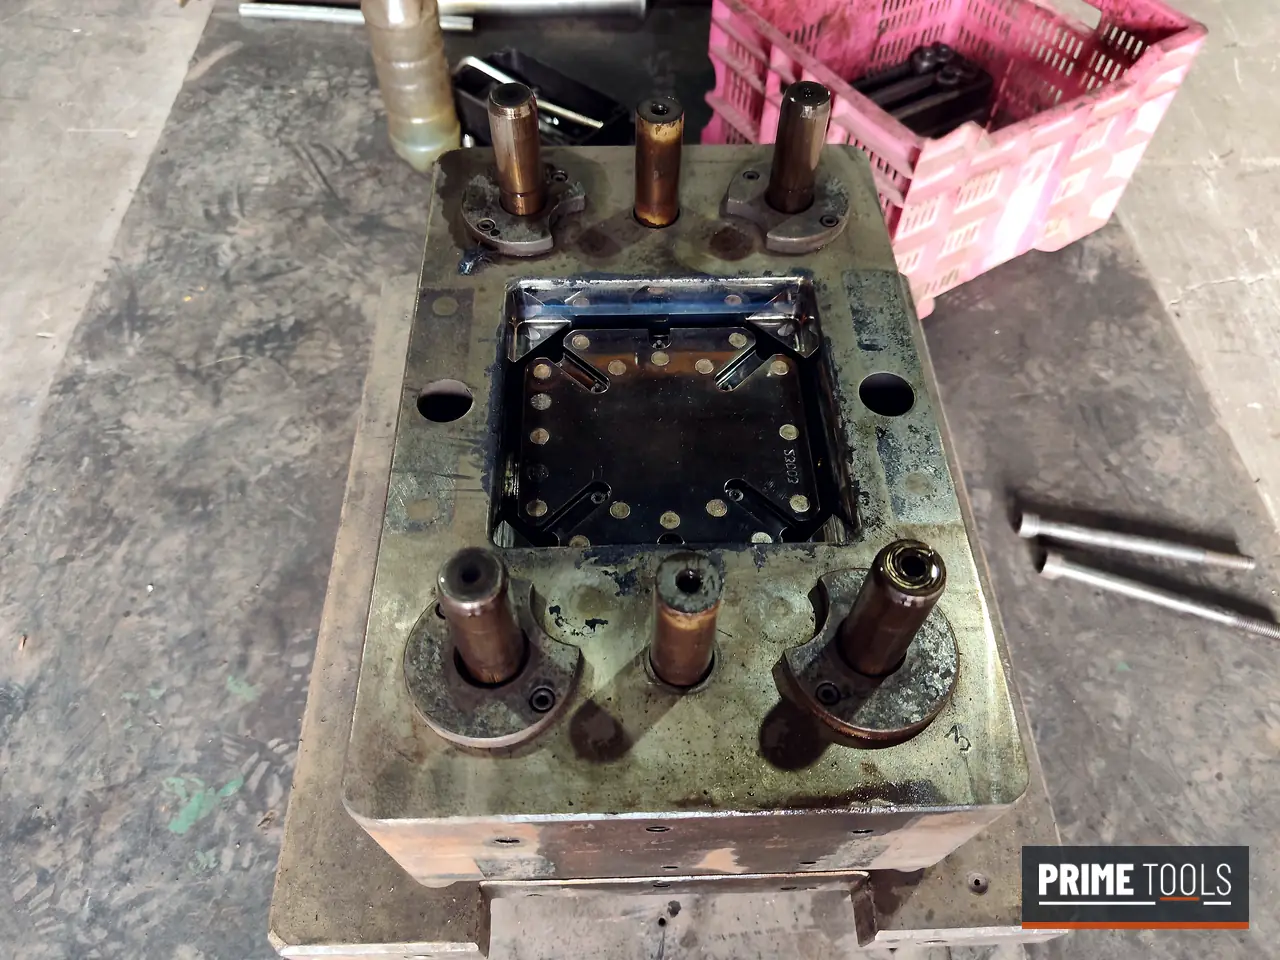
Older moulds often run for years with small problems that add up. We took two old compression tools, replaced and re-machined worn inserts and plates, corrected the fit and brought them back into production.
Rebuilding a sound mould is often faster and much cheaper than a new one. We tell you honestly which one makes sense.
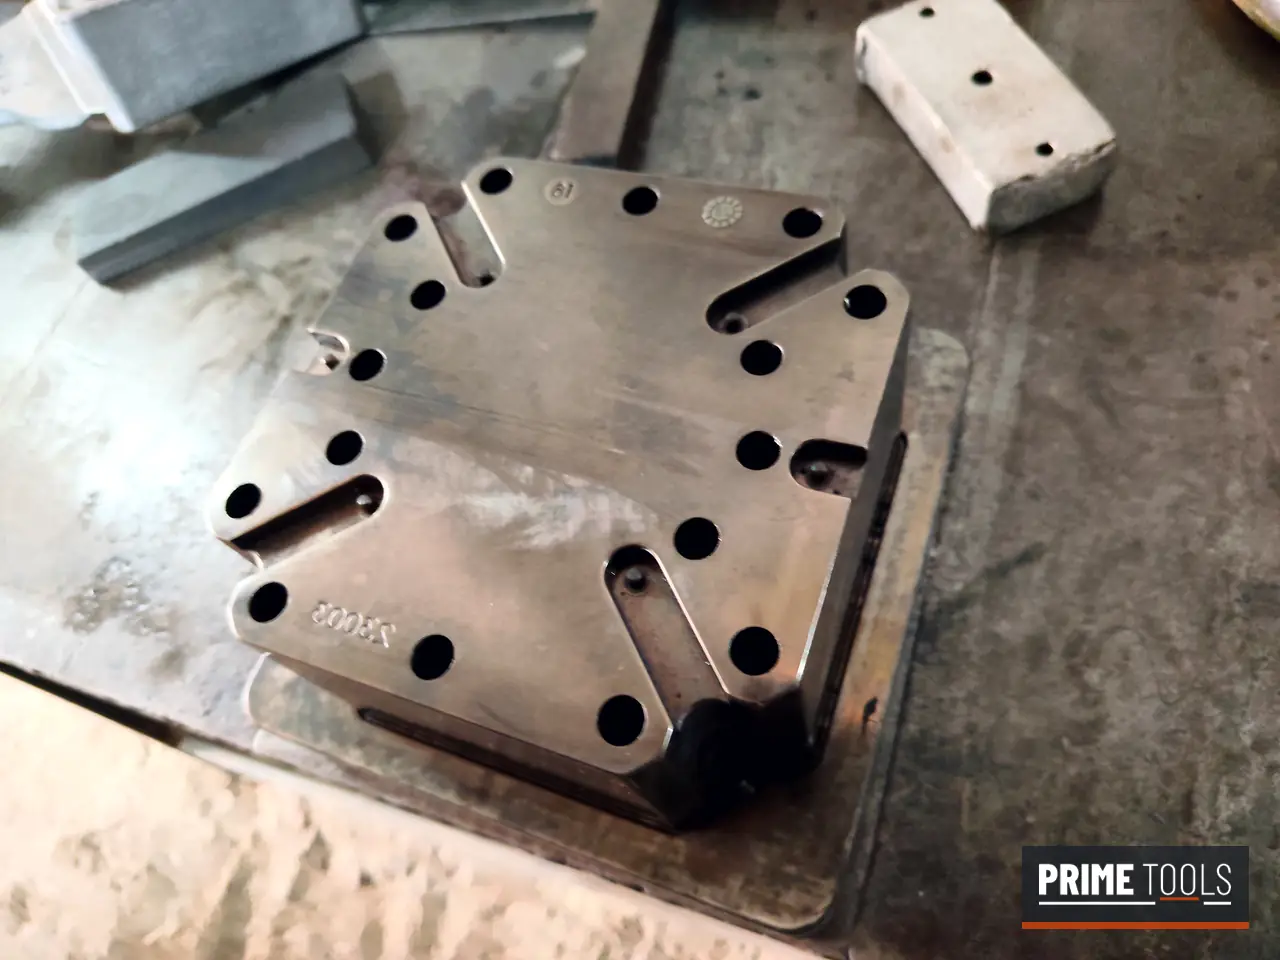
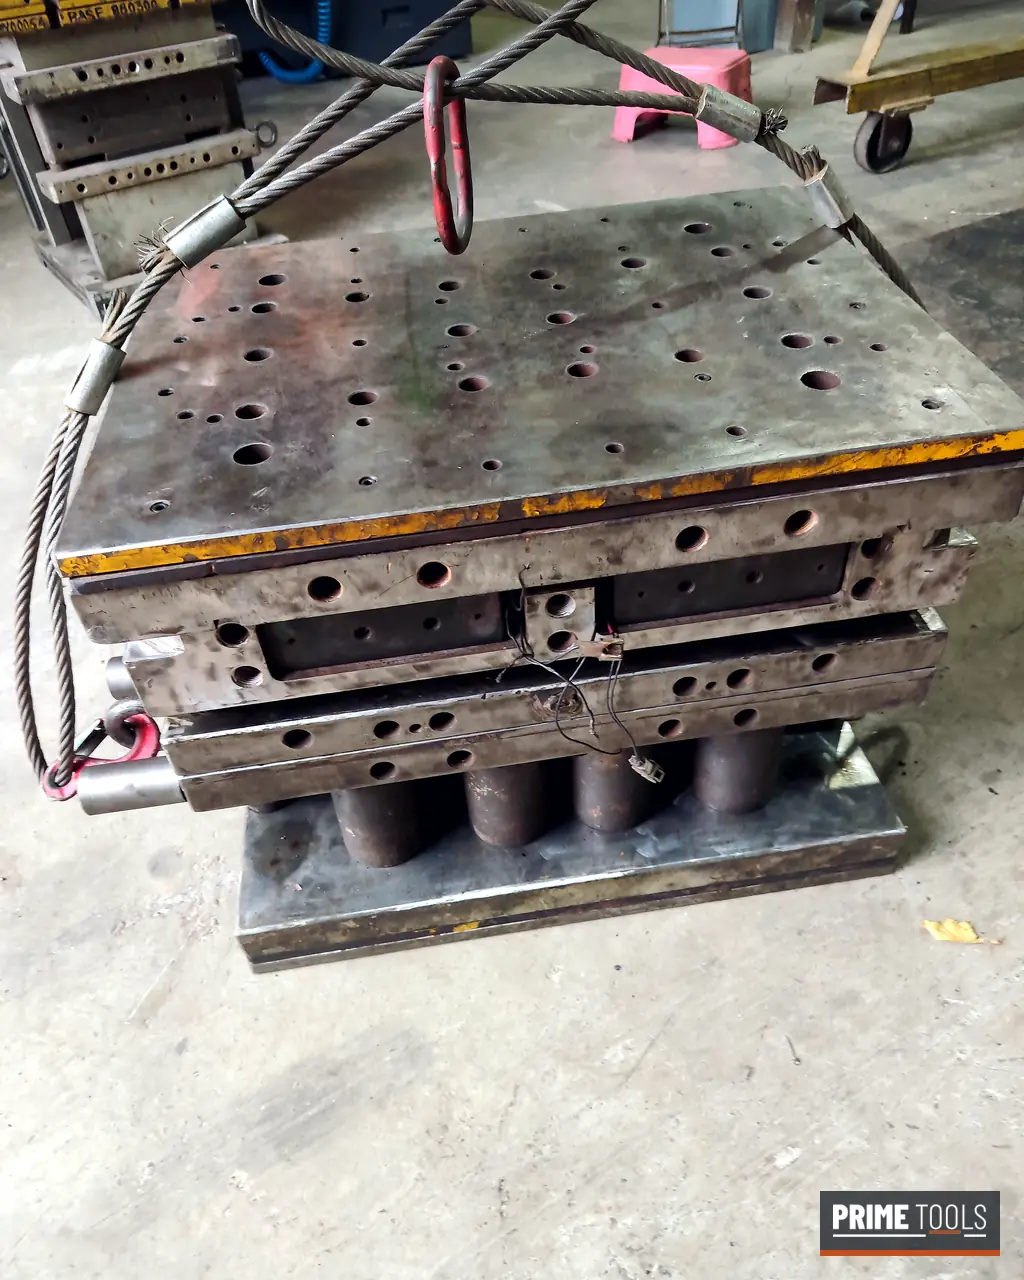
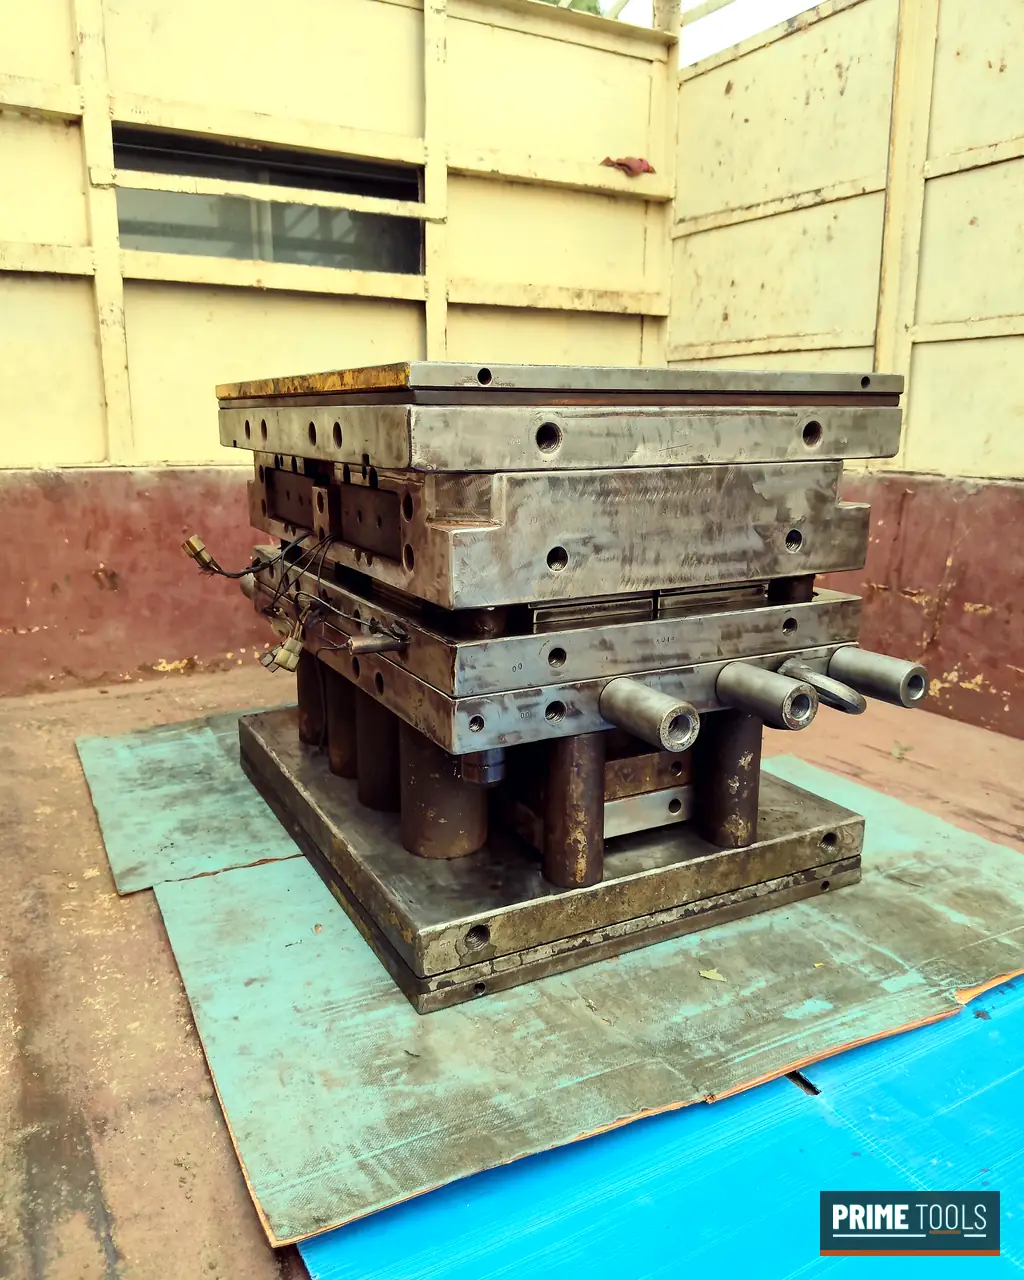
Plates, steel and returns
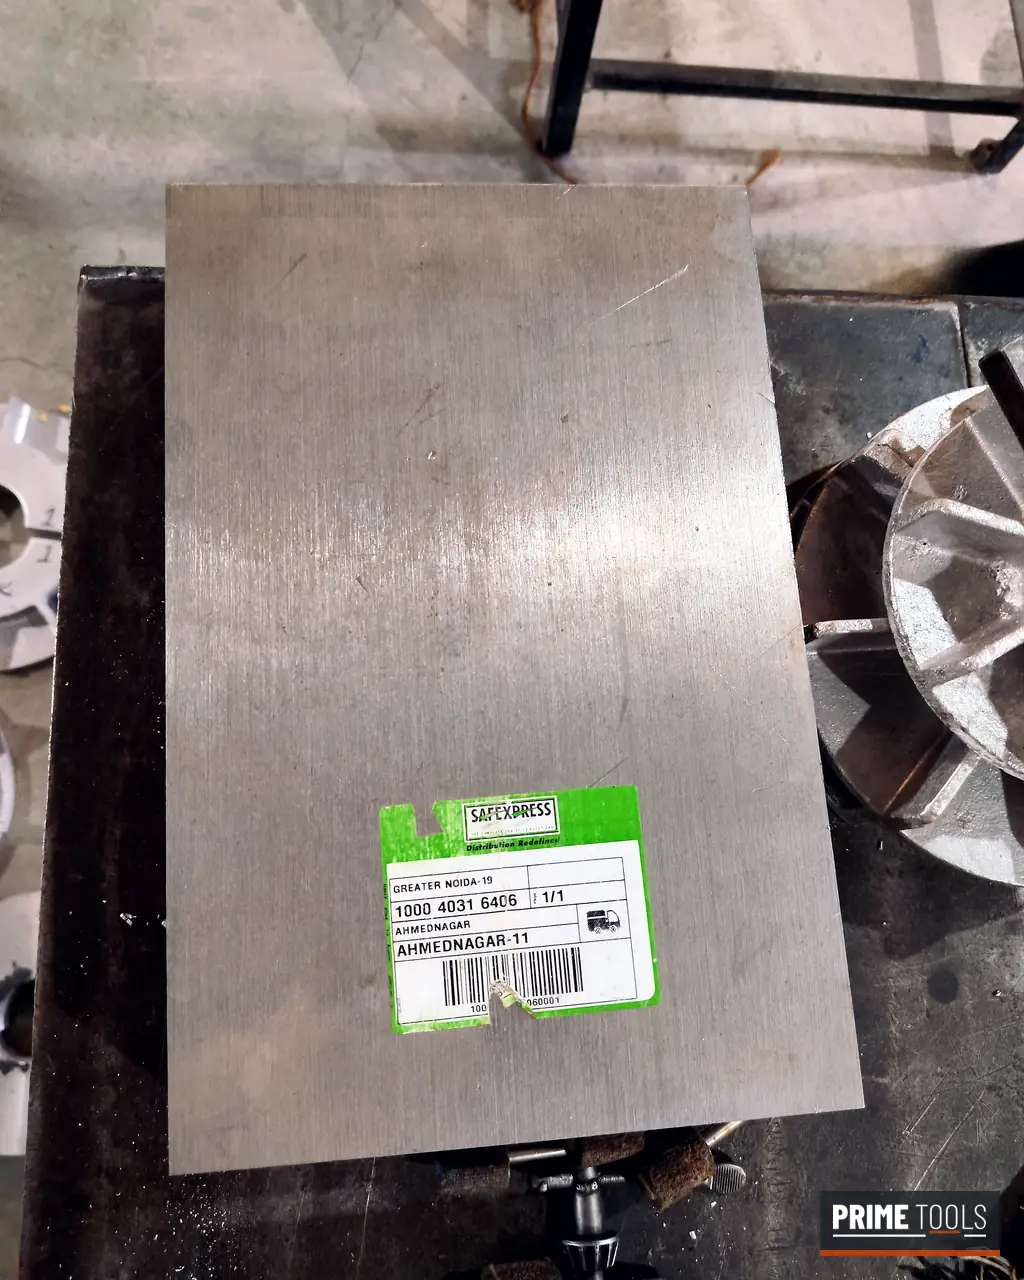
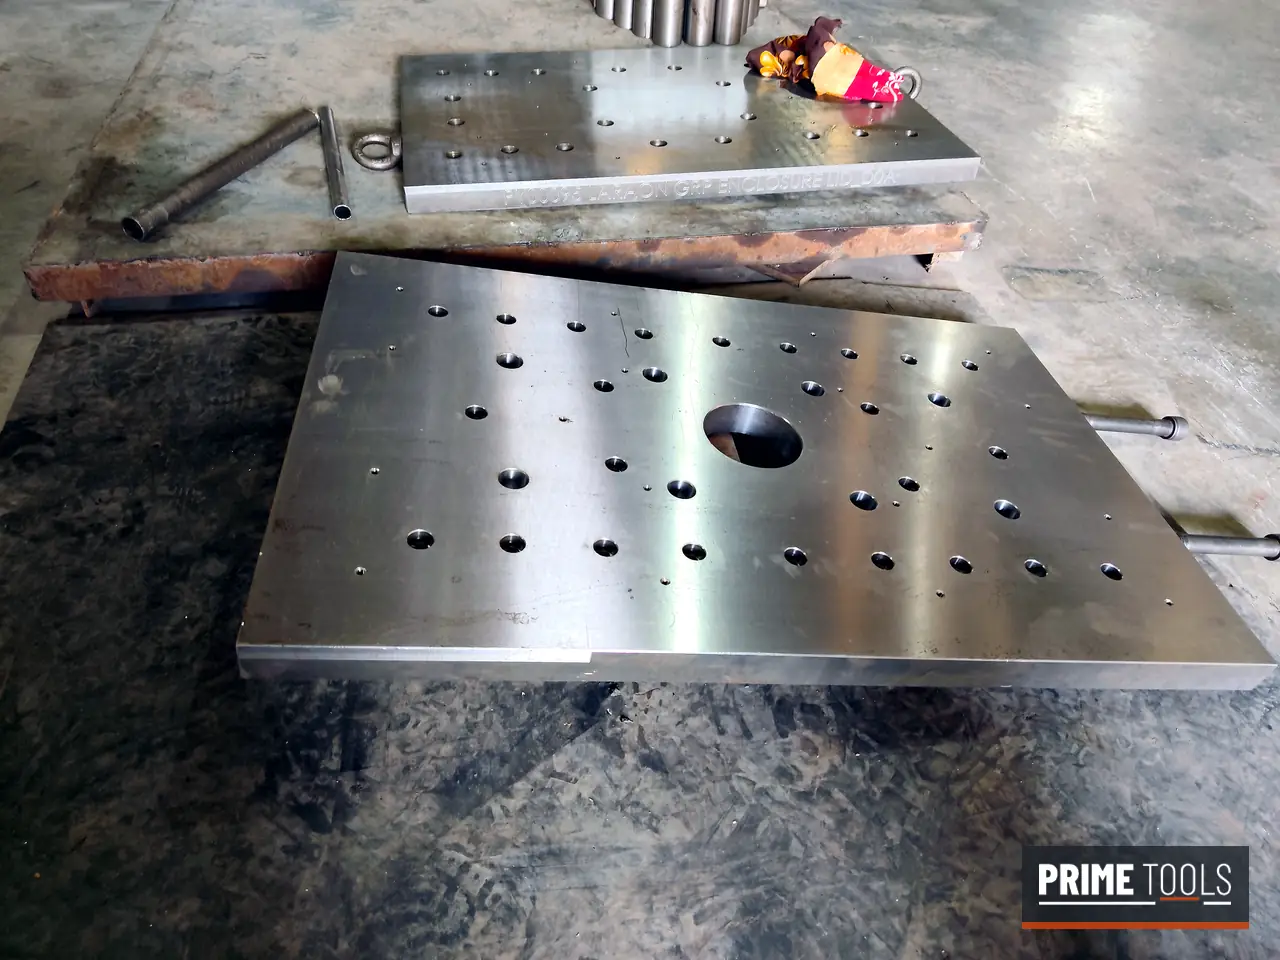
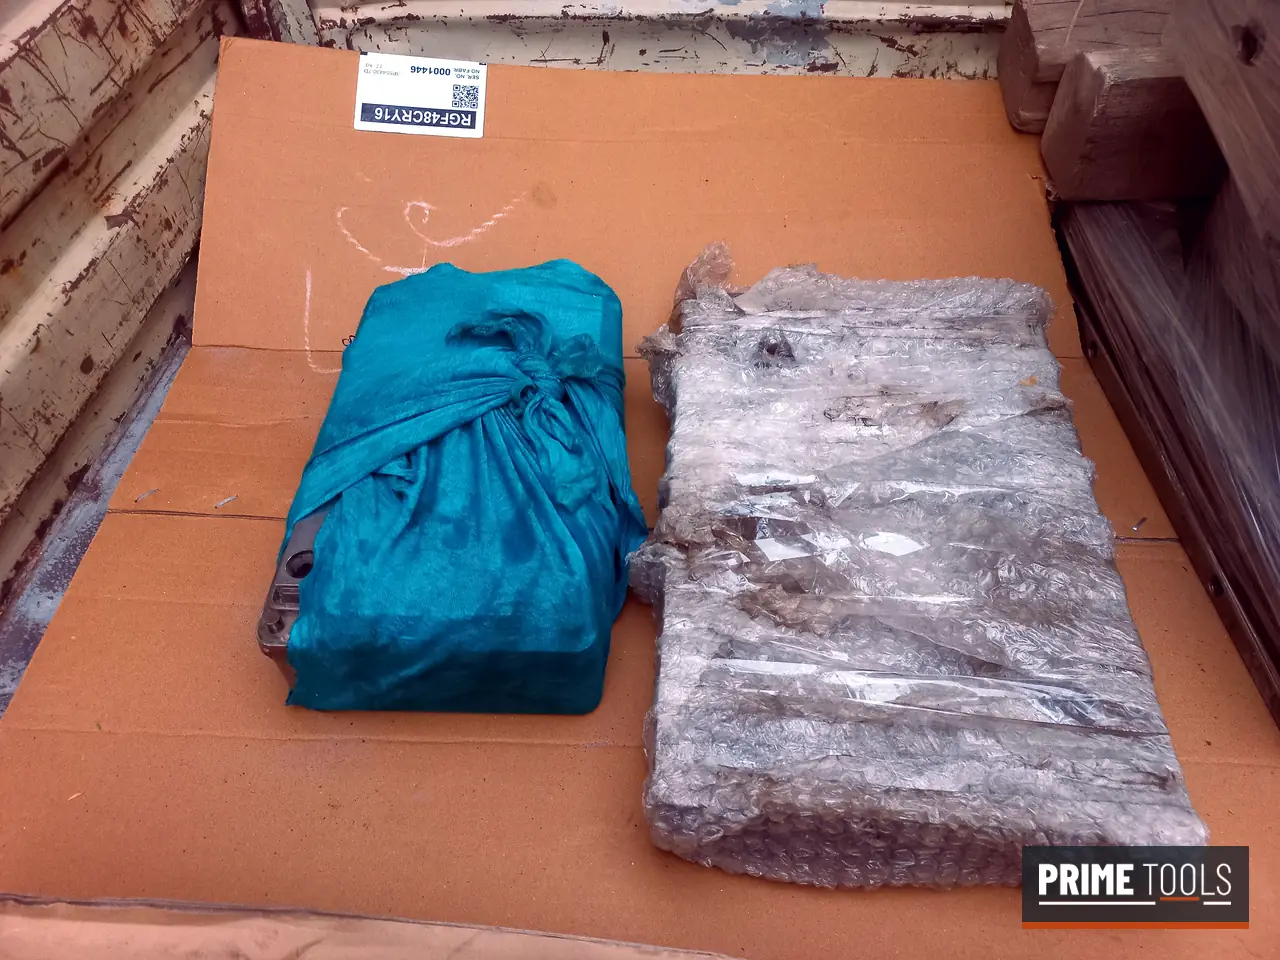
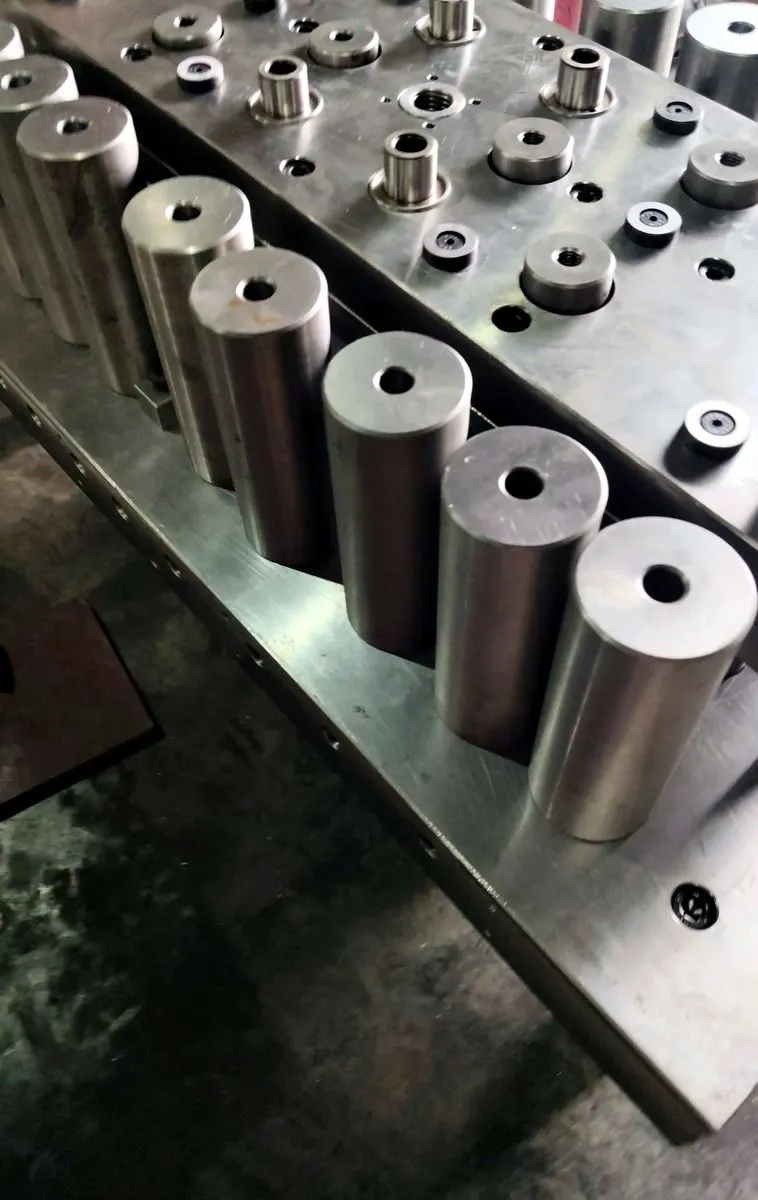
For modifications we cut new plates and inserts from certified tool steel and grind them flat and square. Repaired moulds and loose parts are wrapped and packed for the trip back to your press.